CEM120
"The most beautiful experience we can have is the mysterious. It is the fundamental emotion that stands at the cradle of true art and true science.” Albert Einstein
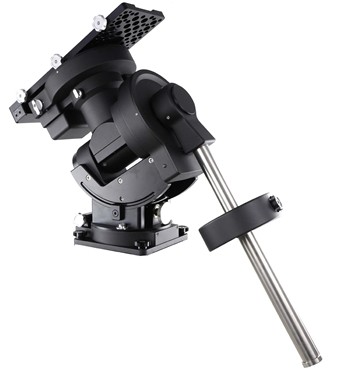
Recognizing the growing demand for an accurate and stable,
equatorial mount with the versatility to carry larger instruments and more complex imaging arrays, we created the iOptron CEM120.
It offers the benefits of our revolutionary “center balance” design: stability, accuracy, and smooth mechanical operation,
while capable of carrying a payload up to 115 lbs (52 kg).
The “center balance” design’s natural stability is due to its focusing the mount along with payloads weight directly over the center of the pier or tripod.
The CEM120's performance is demonstrated by its low periodic tracking error of ±3.5 arc seconds.
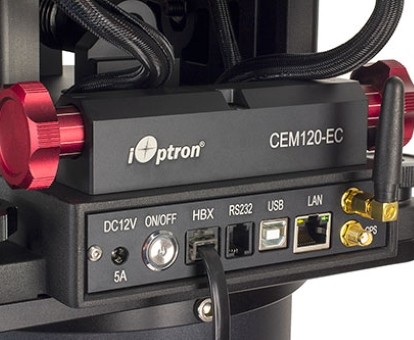
Along with the stability aspect, the CEM120 features an advanced cable management system consisting of more ports in more locations preventing tangle ups and reducing
the chance of fractured cables. It also adds some new features to the CEM family like Wi-Fi and LAN for remote operation and easy to use, reliable clutches on both axes.